
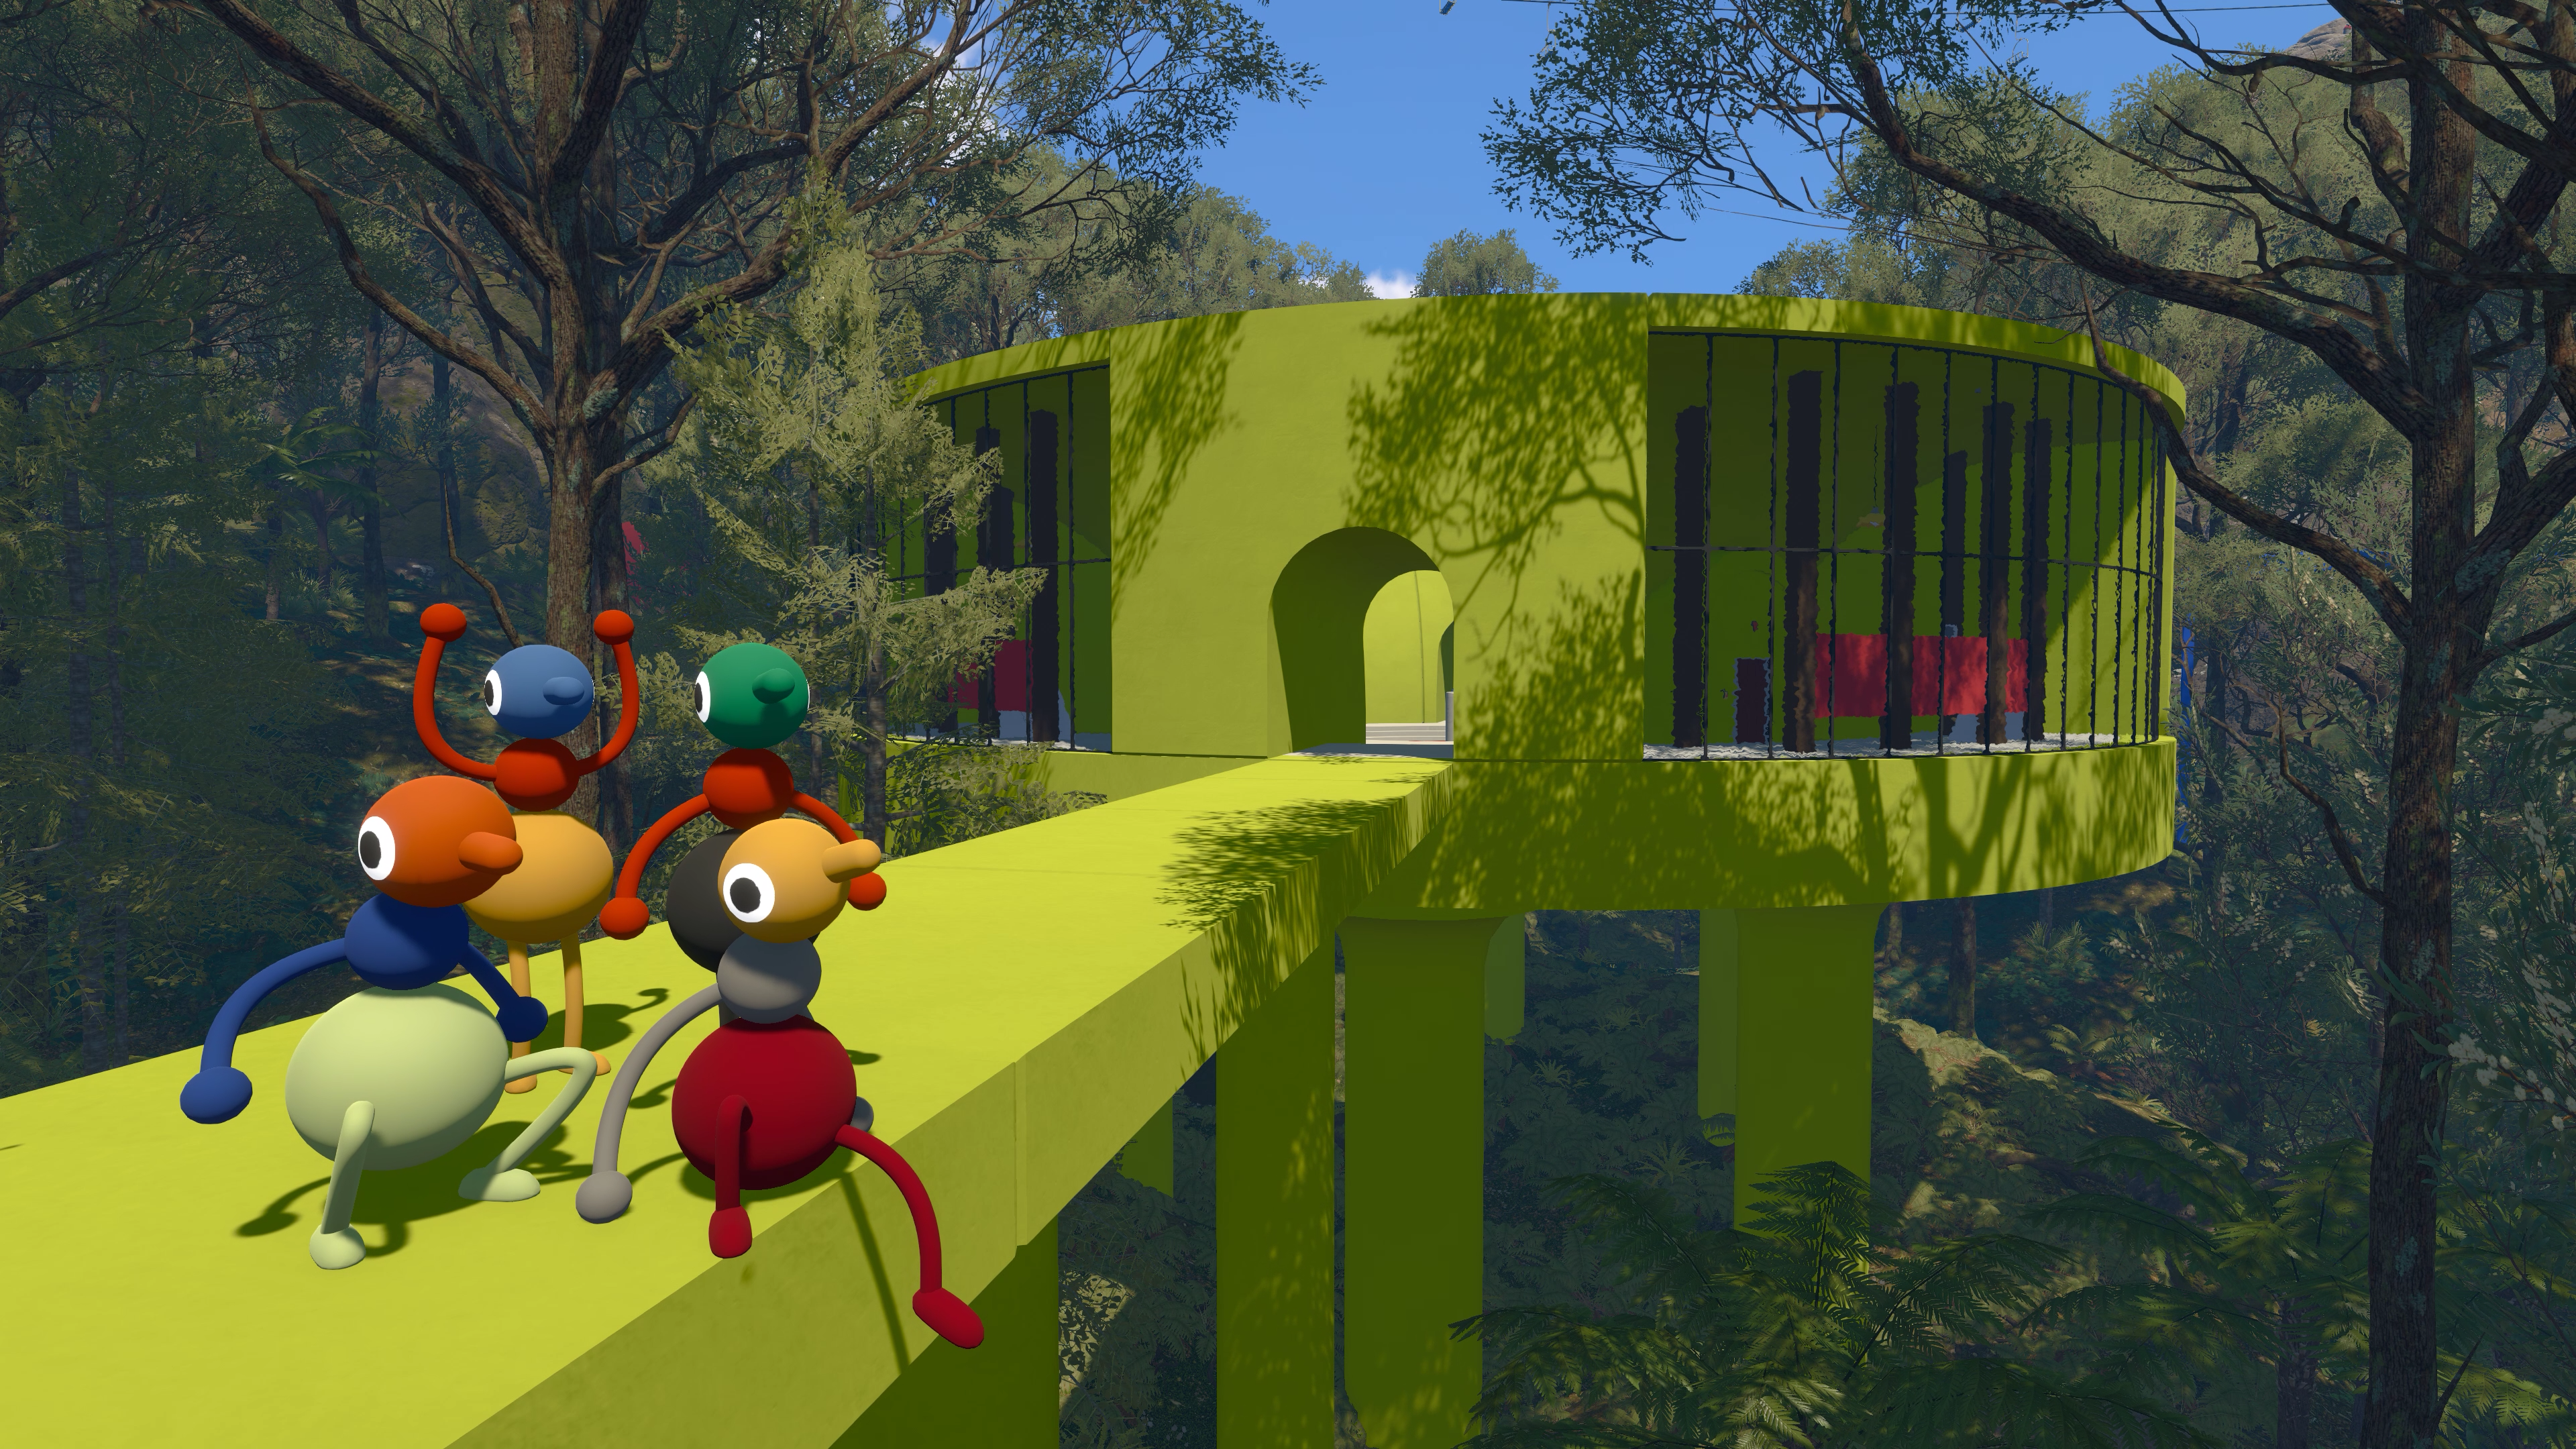
To complete the Big Walk Green Tower route, collect the receiver piece from each of five separate challenges—4166, Orange Barn, Blue Signal, Yellow Stand, and Beach House—then place all five pieces on the tower roof. The completed receiver releases the Green Key, whose five cutting stations lead to the Chairlift unlock.
- Challenges
- 5
- Tower reward
- Green Key
- Key cutters
- 5
- Transport unlock
- Chairlift
Prepare for the Green Tower Route
Bring at least two players and unlock the foldable map before starting the coordinate challenge. The route repeatedly separates information from the player who must act, so agree on simple gestures, knocks, or short voice callouts before anyone becomes trapped or moves out of sight.
The five challenges can be approached in a flexible order. Deposit their receiver pieces on the Green Tower rooftop as you collect them so the group can see how many remain.
Solve the 4166 Coordinate Challenge
This challenge splits the group between a frosted glass container and a distant button at 4166, 1899. One player waits at the container while another uses the foldable map to locate and hold the hidden button near the curved railway and ski-lift tunnel area.
Use the dedicated 4166 Puzzle Solution for the complete route and troubleshooting steps.
Solve the Orange Barn Puzzle
At the Orange Barn, the first player to enter becomes trapped and cannot simply relay the answer by ordinary speech. A player outside can see the required tile pattern, while the trapped player must reproduce it inside.
Decide how you will encode rows, columns, and shapes before stepping in. The outside player can point, gesture, or use agreed knocks to transmit one tile at a time. The inside player should confirm each position before moving to the next rather than trying to memorize the entire pattern.
Solve the Blue Signal Puzzle
Activate the entrance near the green monkey bars and the broken train, then spread the group across the available displays. Count every face shown across all active screens and enter the combined total.
The display changes between attempts, so there is no permanent number to copy from a video. Have each player announce only their subtotal, add the subtotals once, and nominate one person to enter the result.
Solve the Yellow Stand Puzzle
Use only stands marked with a green star and avoid the stand showing a red bulb, which resets progress. Continue making correct selections until the progress display reaches 100 percent.
The pattern is not fixed. Slow down when several players are moving around the stand and have one person call the next safe target to prevent simultaneous inputs from causing an unnecessary reset.
Solve the Beach House Puzzle
This challenge separates the visual clue from its decoder. One player counts the images that flash, then uses the upstairs symbol references and tiles to encode that count. A distant teammate reads the resulting symbols through the telescope and enters the value at the remote station.
Break the process into three confirmations: observed count, encoded symbol, and entered value. If the result fails, repeat the observation round instead of guessing a nearby number.
Activate Green Tower and the Chairlift
- Collect one receiver piece from each of the five Green Tower challenges.
- Carry all five pieces to the receiver slots on the Green Tower rooftop.
- Take the Green Key released by the completed receiver.
- Follow the route through all five green key-cutting stations.
- Use the finished key at the Chairlift power control beside the tower.
Once powered, the Chairlift becomes a useful route toward later regions. Continue with the All Puzzles Guide if your group is following tower progression in order.
If Green Tower Does Not Activate
Count the filled receiver slots on the rooftop before repeating a completed challenge. If one is empty, compare the five challenge locations above and identify the missing piece. For a puzzle whose answer changes per attempt, repeat its observation sequence rather than reusing a previous group’s number or pattern.
This page remains Bounded because the challenge labels, exact route, and counts are documented by a community walkthrough rather than the official FAQ.