
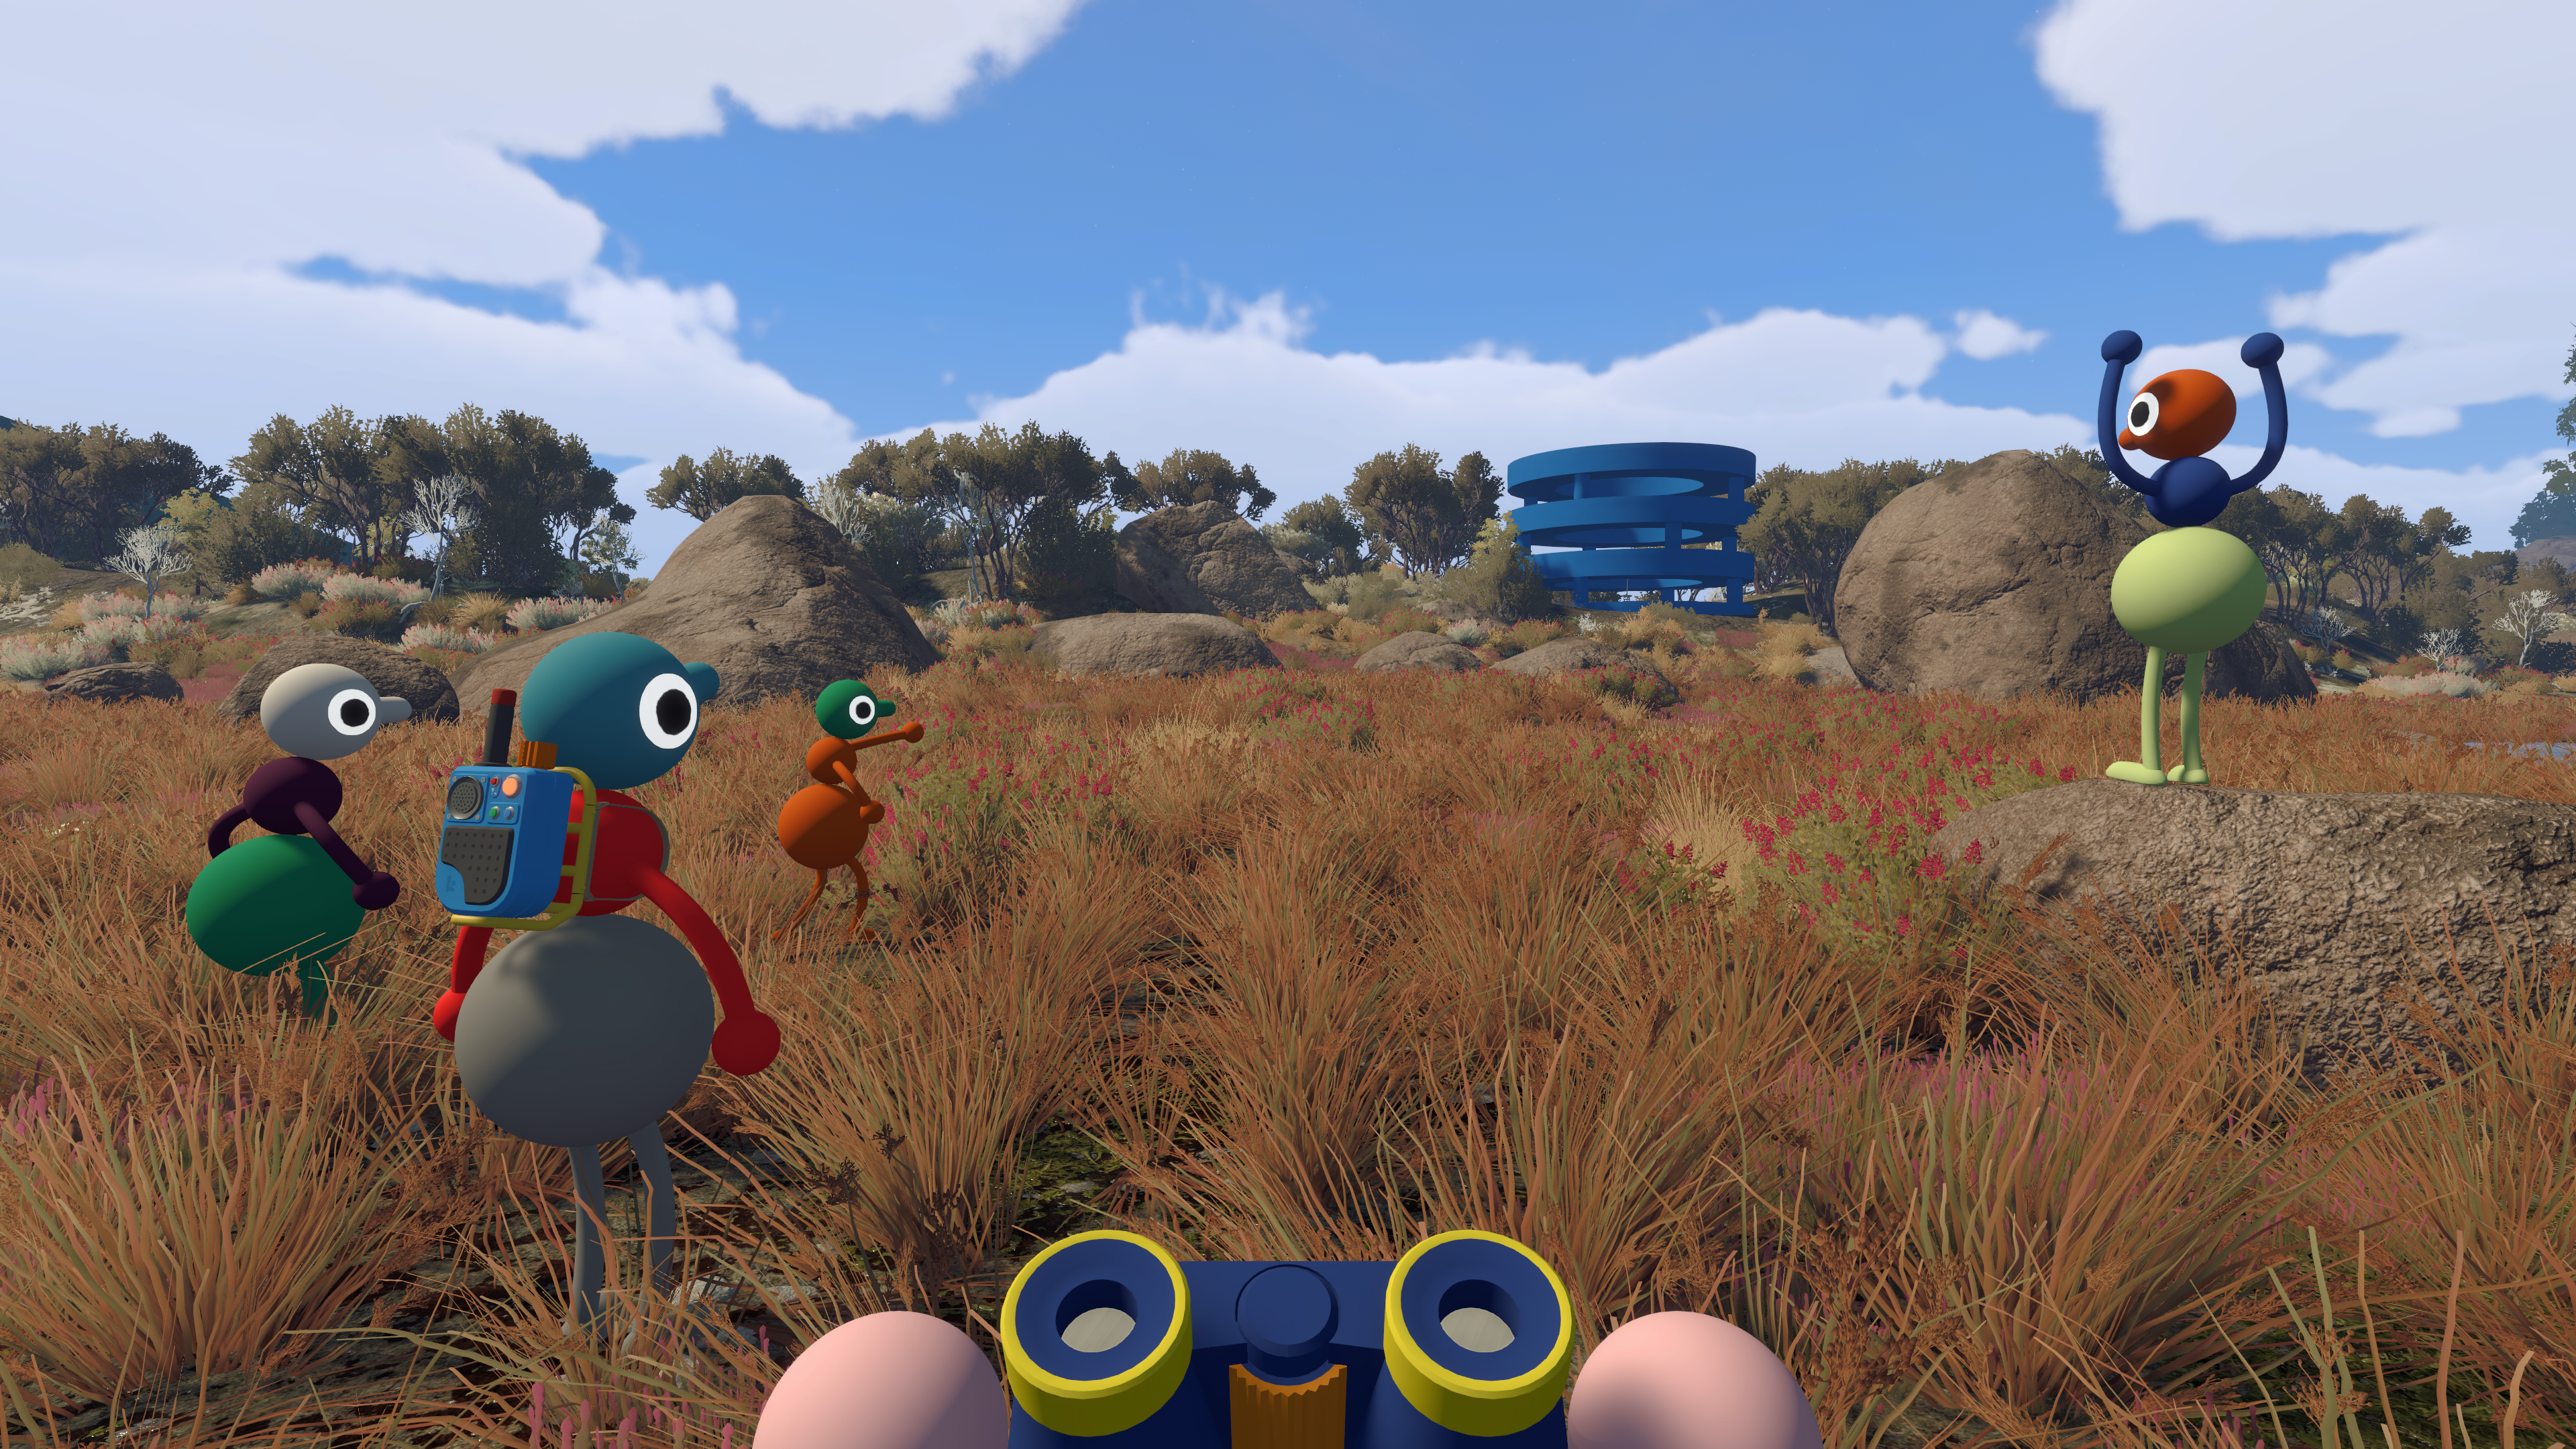
The Big Walk map is unlocked through the Red Tower progression. Complete five Red Tower puzzles, deposit their rewards, shape the released key through the nearby cutters, and use it to open the Map Room near the starting hub.
- Prerequisite
- Red Tower
- Rewards needed
- 5 red
- Portable tool
- Foldable map
- Map Room
- 3D island model
How to Unlock the Map Room
The portable map is not available at the beginning. First lower the Drawbridge and reach the main island, then prioritize the Red Tower region.
- Complete five compatible puzzles associated with Red Tower progression.
- Carry the five red rewards to the slots at the Red Tower.
- Take the key released after all five rewards are placed.
- Follow the key-cutting route and use each machine to shape the key.
- Bring the finished key back toward the starting hub and open the Map Room.
The exact puzzle names used by community walkthroughs are descriptive labels rather than official in-game titles. Focus on collecting five valid red rewards instead of searching for a quest log with matching names.
What Is Inside the Map Room?
The room contains a large 3D model of the island and a portable foldable map. Use the model to understand the relationship between regions and large landmarks. Take the foldable map with the group when you need the numbered coordinate grid in the field.
The map is a navigation tool, not a live quest tracker. It does not automatically create a complete list of unsolved puzzles or guarantee a pin for every collectible.
How to Read Coordinates
Coordinate clues identify locations rather than lock combinations. On the foldable map, use the leading digits to find the broad grid area, then use the remaining digits to narrow the position within that square.
For example, the numbers in the 4166 Puzzle Solution point to a distant physical button. They should not be entered into a keypad near the reward box.
Use Towers and Transport as Landmarks
Colored towers are the most dependable large-scale reference points. The recommended progression also unlocks transport that makes repeated journeys easier:
- Red Tower leads to the Map Room.
- Green Tower activates the Chairlift.
- Yellow Tower opens the major tunnel network.
- Blue Tower activates the island’s trains.
- Black Tower opens the route beyond the wall.
Use the All Puzzles Guide when you need the order behind those unlocks. The map should support that progression, not replace it.
Use the GPS for Coordinate Searches
Community walkthroughs describe a GPS available near the Green Tower area. It can help when you need a more direct numerical readout, especially for a precise coordinate challenge. Because the GPS location and route are not documented in the official FAQ, this page remains Bounded.
If You Are Lost
Return to the last major tower or transport station you can identify, open the foldable map, and agree on one destination before moving again. If the group separates, use built-in communication and describe visible structures, rail lines, tunnels, coastlines, and elevation rather than saying only “over here.”
If you have not unlocked the map yet, return to Red Tower progression instead of relying on screenshots with unexplained pins.